
Now we did have a limited budget, so there a few things we didn't mess with. Mostly, the cabinets. They were nice cabinets when gramps installed them and are still in pretty good condition. Also, I didn't want anything to do with painting cabinets. We did remove the metal pane from the upper cabinets in the lower picture, so they are just glass doors now.
Basically, we painted the walls, the tile backsplash, updated the light fixture/fan, and tiled the floor. We also removed the door in the lower picture (it leads to the laundry room/pantry, which used to be a porch, and has to be left open in the winter anyway because there are no vents in that room).
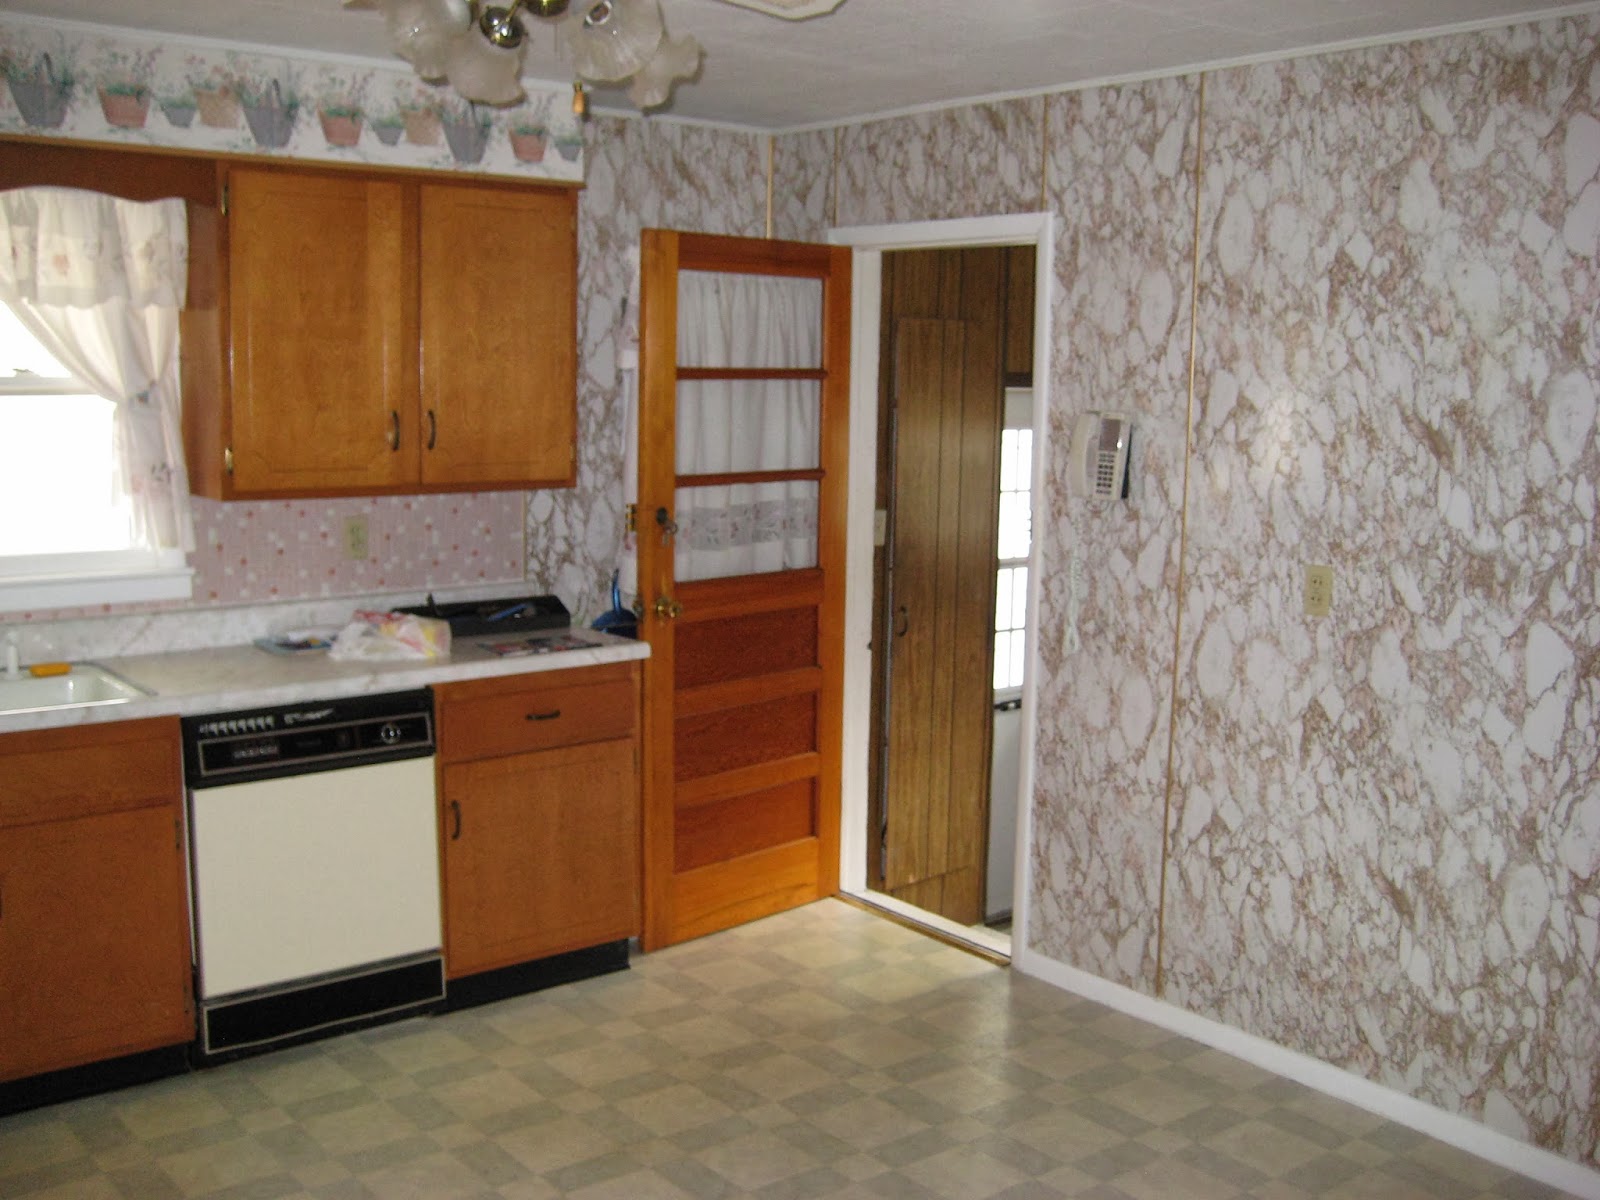
These pictures were taken right before we started painting, so they show the room as it was "lived in"


The walls were a melamine (sp?) paneling that had a very slick finish. We wanted minimal mess while in the process, so we had to find a way to get paint to stick to it without sanding. We went with a Zinsser brand oil-based primer. Two coats and it was ready for color (horray!) Now, oil-based has a LOT of fumes, so make sure your area is well-vented. We did this in the summer when it was un-seasonally cool so I was able to have the windows open.

I originally wanted to put something over this tile, but we decided to try painting it white first and see how we liked it. I used two coats of the Zinsser primer on it and two coats of dutch boy high gloss white.


So we started painting. Again, I used two coats of the primer, since there was a lot of color and pattern that needed to be covered. Then the wall color is "melon wedge" by Dutch Boy, and we went with a semi-gloss (recommended for kitchens and bathrooms because it cleans up well). The fabric for the curtains is all from JoAnn Fabrics, and the panels above the sink have clip rings on them so that they are easy to open up for light during the day.


I am very pleased with how well the tile backsplash turned out. Who knew that a few coats of primer and white paint could make it look new(ish)?

The chairs got a facelift as well! Remy is a fan of the new seat covers. (this was done with a screwdriver and a staple gun. Very simple!)

This pictures shows more of the room at a time. You can see the new floor (I even helped with the grouting!). I also repainted the cover for the dishwasher. The panel slides out and was ivory, so I pulled it out and used a couple coats of the Zinsser on it (I really am thankful we found that stuff!).

So a quick before/after. The floor was the most expensive part of the updating, but overall we spent about $500 on the whole project. I have a couple more things to add to it eventually (I'm looking for a little white board with a tray that we can hang over that old phone jack), but for now I am LOVING the new look.

No comments:
Post a Comment